The first step of backing up a local repo on GitHub: create an empty repository on GitHub.
You can create a remote repository based on an existing local repository, to serve as a remote copy of your local repo. For example, suppose you created a local repo and worked with it for a while, but now you want to upload it onto GitHub. The first step is to create an empty repository on GitHub.
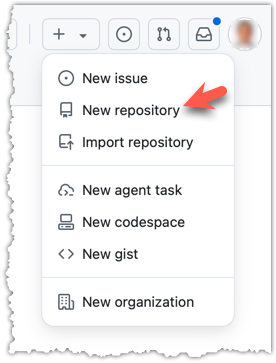
1 Login to your GitHub account and choose to create a new repo.
2 In the next screen, provide a name for your repo. Refer the screenshot below on some guidance on how to provide the required information.
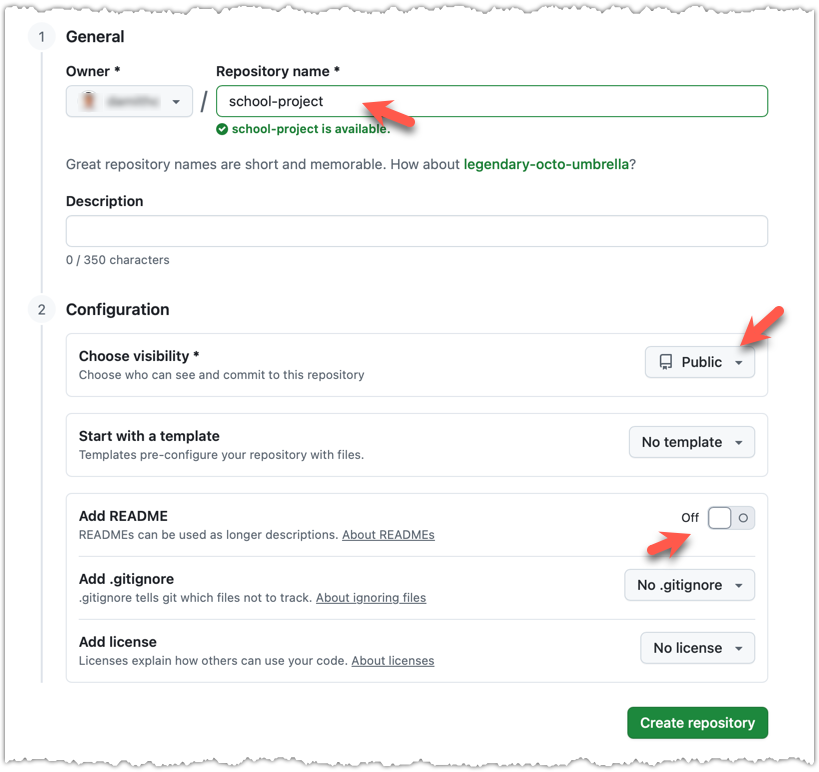
Click Create repository button to create the new repository.
If you enable any of the three Add _____ options shown above, GitHub will not only create a repo, but will also initialise it with some initial content. That is not what we want here. To create an empty remote repo, keep those options disabled.
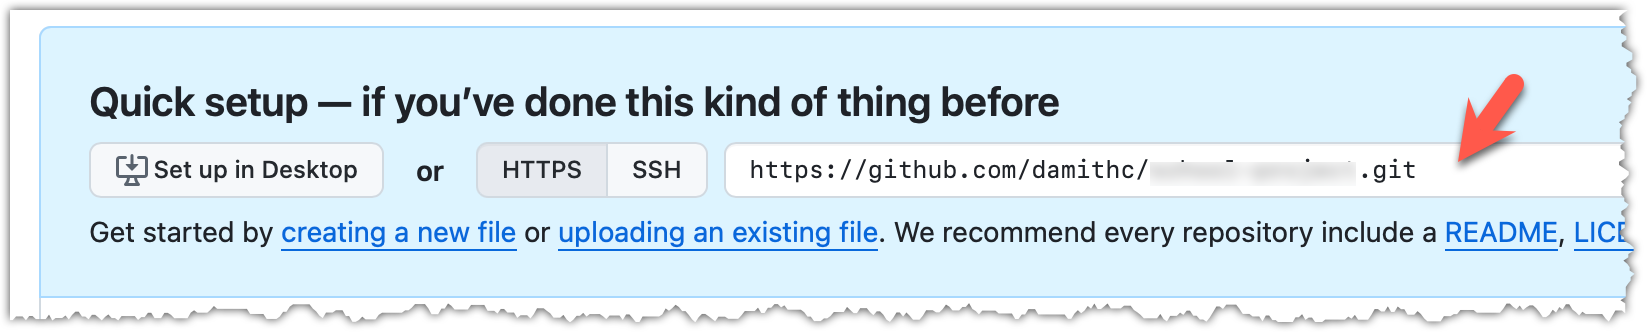
3 Note the URL of the repo. It will be of the form
https://github.com/{your_user_name}/{repo_name}.git.
e.g., https://github.com/johndoe/foobar.git (note the .git at the end)
done!